Setting up
Setting up a new camera so the first shoot is not the test
Batteries, cards, mount hygiene and a backup routine, worked out in numbers, so a new body is ready before anything important is in front of it.
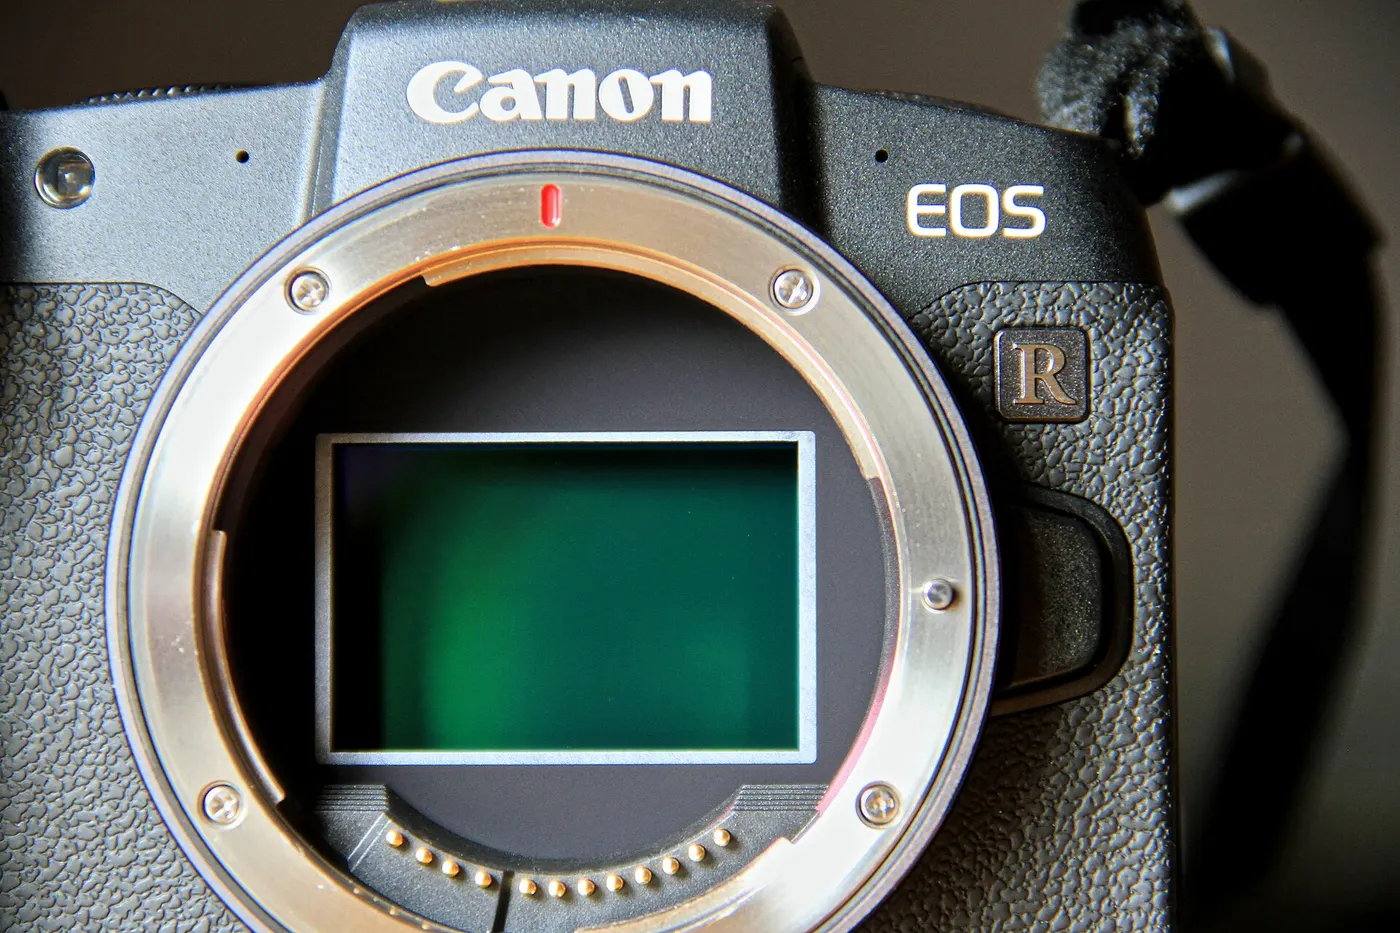
A new camera arrives configured for a shop shelf, not for your work. The settings that matter are not the creative ones but the dull ones: how long the power lasts, where the files go, whether a card failure costs you the day, and whether the mount is clean before a lens goes near it.
This guide is a sequence to run once, before the camera is needed. It takes about 2 hours including charging time, and every number in it is arithmetic on figures printed in the camera's own documentation.
Power: turn the rating into a battery count
The shots-per-charge figure on a specification sheet is measured under CIPA DC-002, the Standard Procedure for Measuring Digital Still Camera Battery Consumption, published by the Camera & Imaging Products Association in its 2020 translation. Because every maker uses the same procedure, the figures compare with each other — which is exactly what you need to plan a day.
Divide the frames you expect by the rating and round up. A 900-frame day against a 300-shot rating is 3 batteries. At roughly 2 hours per battery on a single charger, that is 6 hours of charging, so the charging starts the night before rather than over breakfast. A second charger halves it to 3 hours.
Three habits move the real figure a long way from the rated one. Continuous autofocus and image review both run the sensor and screen far more than the test sequence does; cold weather reduces usable capacity sharply, which is why a spare kept in an inside pocket outlasts one in the bag; and leaving the camera awake between frames spends the charge on nothing. None of these change the rating, and all of them change your day.
| Frames expected | At a 300-shot rating | At a 700-shot rating | Charging time, one charger |
|---|---|---|---|
| 300 frames | 1 battery | 1 battery | 2 hours |
| 900 frames | 3 batteries | 2 batteries | 6 hours or 4 hours |
| 1,800 frames | 6 batteries | 3 batteries | 12 hours or 6 hours |
Counts are frames divided by the rating, rounded up. Charging time assumes about 2 hours per battery on one charger; a second charger halves every figure in the last column.
Cards: capacity, speed and the second copy
Capacity is the easy half. A 24-megapixel raw file is roughly 28 MB, so a 64 GB card holds about 2,200 frames and a 128 GB card about 4,400. For the 900-frame day above, one 64 GB card is ample, and that is the point: the reason to carry a second card is not space, it is that a card can fail and a day cannot be re-shot.
Speed matters in two places only. The card has to absorb the burst you shoot, and it has to empty fast enough that offloading is not its own chore. A camera that can shoot 10 frames a second in raw is writing roughly 280 MB a second, so a card rated well below that will stall the buffer after a few seconds, whatever its capacity.
The routine worth fixing on day one is the copy. Format in the camera rather than on a computer, shoot, copy to a drive, verify the count matches, and only then reformat. Two drives at $70 each replaced every 4 years is $35 a year, and it is the cheapest insurance in photography.
- Format every new card in the camera that will use it, not on a computer
- Check the frame count on the card against the count in the folder after every copy
- Keep the second copy on a different physical drive before reformatting anything
- Replace cards on a schedule rather than after a failure; a card that has been formatted hundreds of times owes you nothing
- Label cards so a suspect one can be retired rather than rediscovered mid-shoot
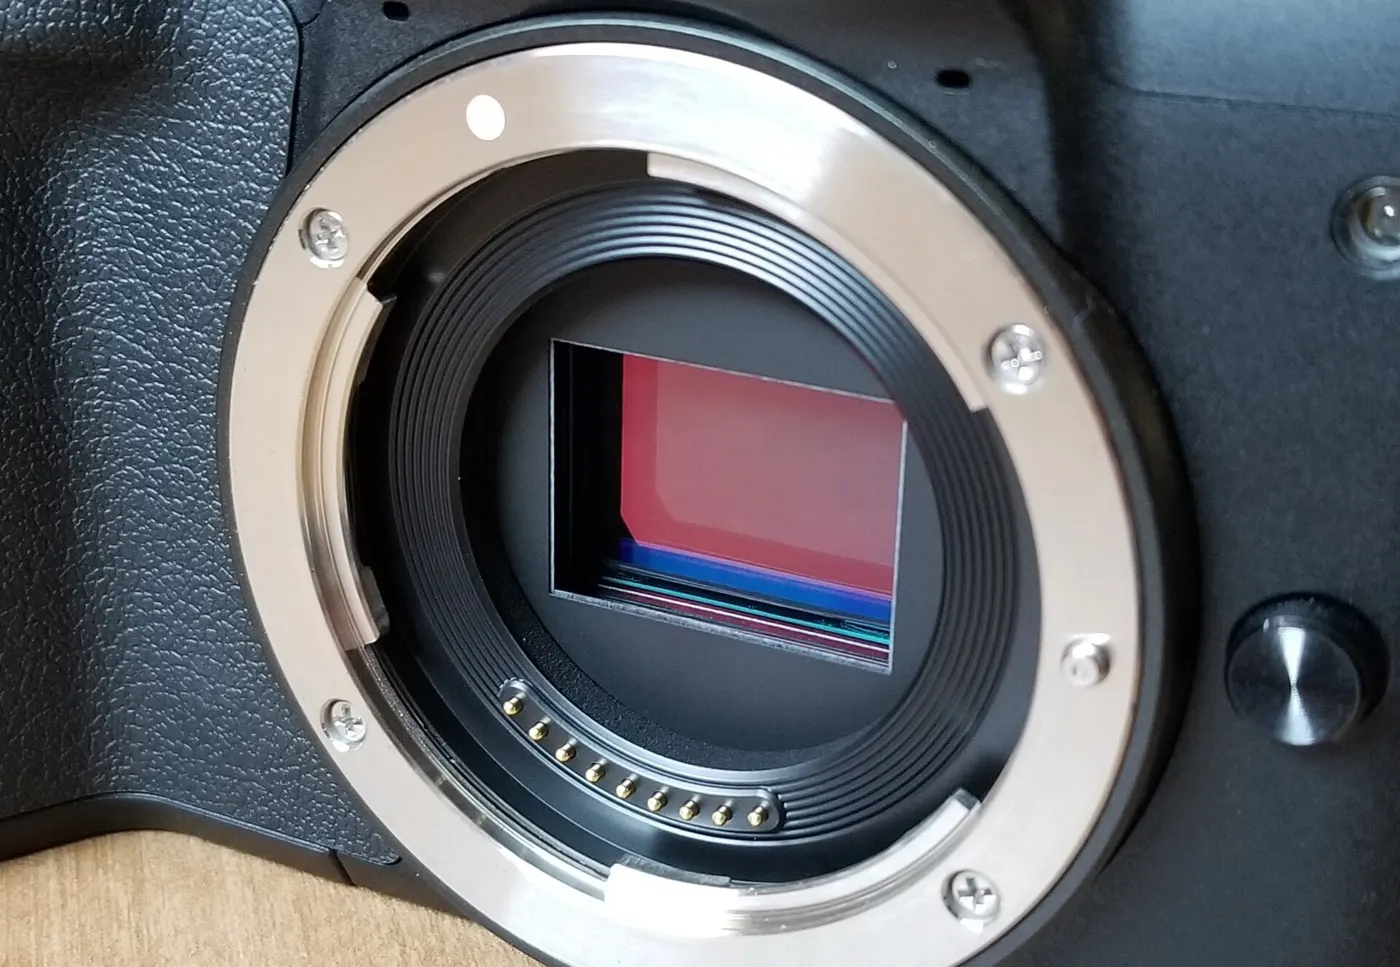
Mount and sensor hygiene before the first lens goes on
A mirrorless sensor sits a short distance behind an open mount with no mirror in front of it, so it collects dust from the first lens change. The habit that prevents most of it costs nothing: change lenses with the mount pointing down, with the replacement lens already uncapped and in your other hand, and with the camera switched off so the sensor is not electrostatically charged.
Before anything is attached, check the contacts. The ring of gold pins in the mount carries aperture and autofocus signals, and a fingerprint across them produces intermittent faults that look like a broken lens. A dry blower, never a cloth and never compressed air from a can, is the right tool.
A professional sensor clean runs about $60 and most domestic users need one every year or two, which averages roughly $40 a year. Budget it rather than postponing it: dust shows at small apertures first, so it will appear exactly on the landscape frame you cared about.
The settings worth changing on day one
Three defaults cost people pictures. Auto-rotate on playback shrinks vertical frames on the back screen for no benefit on a camera you hold yourself. Long-exposure noise reduction doubles the time every exposure over a second takes, which turns a 30-second frame into 60 seconds of standing still. And the default file numbering restarts per folder on many bodies, which produces duplicate file names across a year's archive.
Set the clock and the time zone before the first frame. Every later sort, merge and multi-camera sync depends on it, and fixing timestamps afterwards is an hour of work that nothing prevents.
Then make one deliberate test: shoot 20 frames across the apertures and focal lengths you expect to use, copy them, and look at them at full size. The point is not image quality but to prove the whole chain — card, copy, backup, viewer — works before the chain matters. Image stabilisation figures quoted under CIPA DC-011, revised in 2024, describe static subjects, so include a couple of hand-held frames at slow shutter speeds in that test and find your own limit rather than inheriting the rating's.
Before you buy
- Divide the frames you expect by the body's published shots-per-charge figure and buy that many batteries
- Start charging the night before a long day, allowing about 2 hours per battery on a single charger
- Format every card in the camera and carry a second one for failure rather than capacity
- Set the clock and time zone before the first frame is taken
- Turn off long-exposure noise reduction and auto-rotate, and set file numbering to continuous
- Blow out the mount and check the gold contacts before the first lens is fitted
- Shoot and fully process 20 test frames to prove the card, copy and backup chain works
Questions readers ask
- How many frames per charge should I actually plan for?
- Plan at about 70% of the rated figure if you use continuous autofocus and review images often, and nearer the rating if you shoot single frames and leave the screen off. On a 300-shot rating that is 210 frames of working margin, which is why the table above rounds battery counts up rather than down.
- Is a more expensive memory card worth it?
- Only where the camera can use the speed. If the body writes about 280 MB a second at full burst, a card rated above that removes the buffer stall; a faster one again changes nothing in the camera and only speeds up offloading. Capacity above what a day needs mostly increases how much a single failure costs you.
- Should I ever clean the sensor myself?
- A dry blower, used with the mount pointing down, is safe and removes most loose dust. Anything involving liquid or contact with the sensor filter risks a scratch that costs far more than the $60 a professional clean runs. The in-camera cleaning cycle is worth running first, since it shifts a good share of what a blower would.
- Do I need to charge a new battery fully before first use?
- Lithium-ion cells have no memory effect, so a partial first charge harms nothing. What does help is not storing them at full charge for months: a cell left at 100% for a year loses more capacity than one stored near half. For a camera used weekly, simply charging it before each outing is enough.
Sources
Some links on this site can earn us a commission. That does not change which product a guide recommends, and it adds nothing to your price. Advertising is not enabled on this site yet. When it is, ads will be labelled and kept visually separate from the guides.